

Learning how to make these DIY baby burp cloths was the very first sewing project I ever completed. So I consider it an excellent project for those who have NEVER sewn a thing in their life. Because they are rectangular and sewn with straight stitches, it makes for a SUPER quick project. Not to mention, it’s perfect for last minute baby shower gifts!
What you’ll Need to Make DIY Baby Burp Cloths
(This post contains affiliate links. Please review my Disclosure of Advertisement HERE)
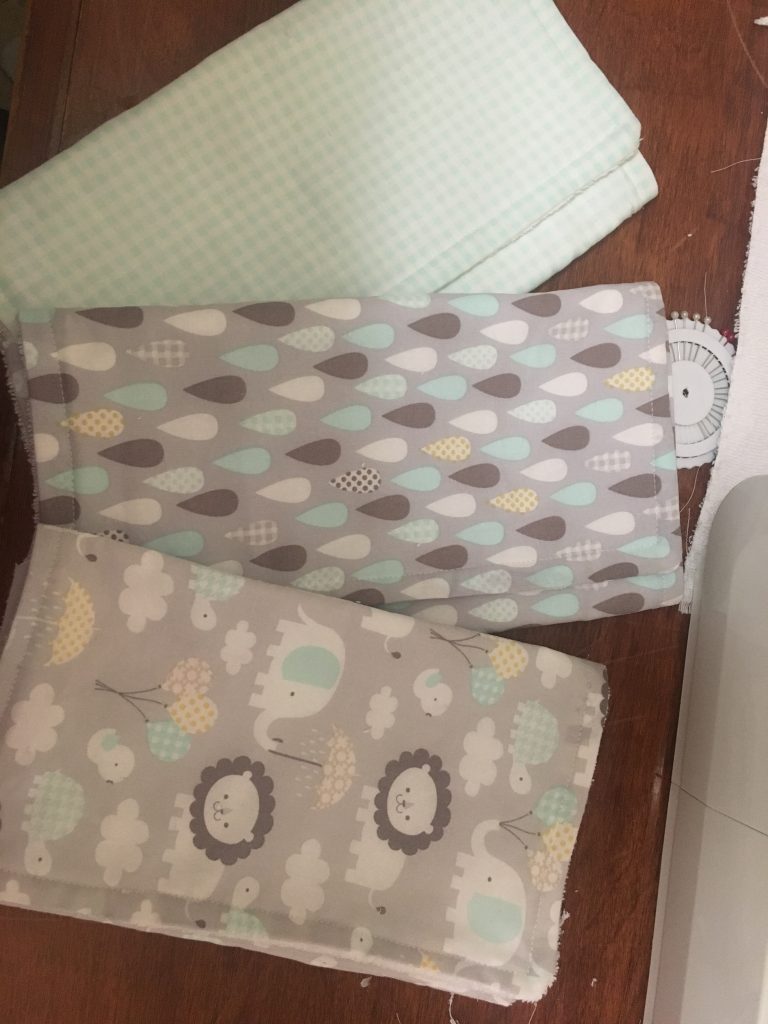
18″ x 22″ of cotton fabric of your choice, any pattern or color (fat quarters are good for this!)
18″ x 22″ of terry cloth, cloth diaper insert material or any other absorbent material
Coordinating thread for top stitch
One bobbin of thread that matches to your absorbent material
Fabric scissors or rotary cutter
What is the Best Sewing Project for a Beginner?
For me, learning how to make DIY baby burp cloths was super easy because it only involved the basics of sewing. In addition to that, it was my first ever sewing project, and I learned FAST. Because you are sewing a rectangle, it’s great practice for keeping your lines straight. Also, you are measuring and cutting to size. And once I got the hang of it, I could make them in under 10 minutes (which is awesome!).
Step by Step Guide for DIY Baby Burp Cloths
- First, you will want to load your coordinating bobbin and thread into your sewing machine (I use white in the bobbin for white terry cloth and a top thread color that blends best with my cotton fabric).
- Next, iron your terry cloth and cotton fabric and cut to size (18 X 22 inches)
- Then, pin your fabric together inside out (print facing inside, side of terry cloth you will evenutally want to show facing inside as well.
- Next, starting with a back stitch to secure the thread, sew 1/4 inch from the edge of the fabric down one of the longer sides, pulling out the pins as you go.
- When you get 1/4 inch from the end of this side, needle should still be inserted in fabric. Lift the footer, and rotate the burp cloth one quarter of a turn. Place the footer down and sew the shorter side until you-again-are 1/4 inch from the corner of the fabric with the needle still in the thread.
- Again, lift the presser foot, turn the fabric a quarter turn, lower the presser foo. Then, sew 1/4 inch from the edge of the fabric to 1/4 inch from the next corner.
What is the Best Homemade Baby Shower Gift?
Burp cloths make the best baby shower gifts because they are not only useful and sentimental, but they are handmade. So, the person receiving it knows that you took the time and thought to make something specially for their baby. I like to give it as a supplement to store-bought gifts on a registry, so that that the person can receive something they asked for, as well as something uniquely made JUST for their baby. If you don’t have a lot of time, the fact that you can make these in under 10 minutes is motivation enough to use as a baby shower gift. Sometimes, I will sew ahead of time, so that they are ready to go at a moment’s notice!
Finally, finishing the baby burp cloth…
- On the final corner, sew 2/3 of the remaining fabric ended with a back-stitch to secure the fabric, leaving 1/3 of the fabric un-sewn and with a hole at the bottom.
- Trim all excess fabric (especially the corners).
- Then, from the remaining hole, turn the burp cloth inside out. Use a knitting needle or chopstick to push the corners out from the inside.
- Fold both fabrics of the hole inwards about 1/4 inch and sew a top-stitch (use a back stitch at the beginning and end of this stitch).
- Finally, lay the burp cloth horizontally, 1/3 the way from each edge of the burp cloth, sew a straight vertical top-stitch (use a back stitch in the beginning and end of each stitch to secure the fabric). You will end up with 2 straight lines dividing the both into perfect thirds. This will help keep the fabric from bunch when washed and will help with folding.
Other Uses for Burp Cloths
Burp cloths can be used as napkins, cleaning rags and you can even strategically sew on ties to repurpose them as washable Swiffer pads! Perhaps, my favorite use it unpaper towels. It would have been easy to name this blog How to Make Easy DIY Unpaper Towels because this is exactly how I would make them. Additionally, you could add snaps to connect them so they stay on a paper towel roll.
I hope you enjoyed this easy sewing tutorial. If you liked this post, be sure to sign up for my newsletter at the end of the blog to be the first to know about more sewing tutorials, recipes and more!
Keep Creating-
Natalie from Deerwood + Jones
Shop this Post!
Brother XM2701 Sewing Machine, Lightweight, Full Featured, 27 Stitches, 6 Included Feet
Fiskars Comfort Loop (45mm) Rotary Cutter, 1, White
Fiskars The Original Handled Scissors, 8 Inch, Crafting, Paper Cutting, Multi Surface Use, Orange
Sign up for Newsletter Below!