

This post contains affiliate links. Please review my Disclosure of Advertisement HERE)
DIY Fabric Hair Rollers
I was initially inspired to create my own diy fabric hair rollers because I’ve ALWAYS been terribly envious of people with naturally curly hair as mine is very straight. Unfortunately, curling irons have never worked well for me. So, for the majority of my life, I’ve used a set of Clairol electric rollers that belonged to my Granny in the 80s. Finally, I got rid of them a year or so ago because I just never used them and it was one more accident waiting to happen with kids! But, I was missing my curls, and as a mom, needed an option that would also be a time saver.
Ultimately, I decided I wanted to try something that was better for my hair after years of heat. As a result, I went the old-fashioned route and designed some DIY Fabric Hair Rollers!
Reasons Why you Should Use DIY Fabric Hair Rollers
- Overall, they are less damaging to your hair as there is no heat invovled.
- They are safer and prevents burn-injuries and home fires.
- There is less breakage of hair as the hair is more evenly and dispersed
- It saves a TON of time-I can get mine up in just a few minutes and wake up with gorgeous curls.
This post contains affiliate links. Please review my Disclosure of AdvertisementHERE )
Tools and Materials you May Need:
Cotton Fabric 8″ x 6″ cut of fabric per roller
While you could just buy the sponge curlers listed above and call it a day, I’ve found that making them into fabric curlers by and large produces better results. Because the snaps are more secure than the clasps, they are far more comfortable to sleep in. Additionally, they stay in your hair overnight and do not break easily like that clasps. Plus, not only can you pick out super cute fabric, you can even purchase extra and make a little matching drawstring bag to store them in!
How to Make No Heat Rollers
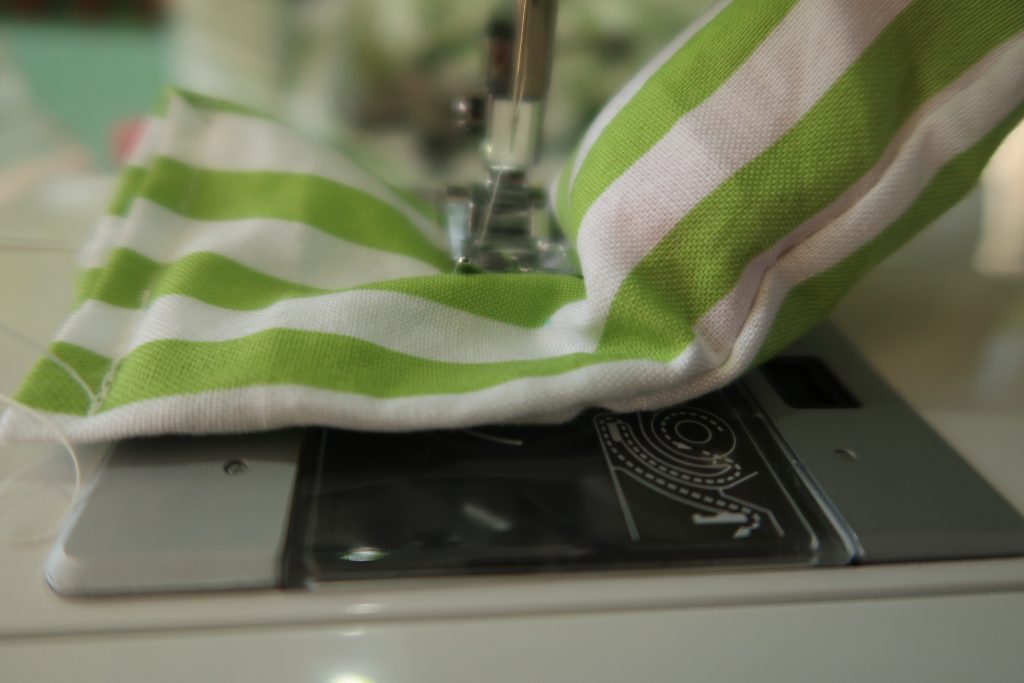
- First, fold the fabric in half around the sponge roller longways with the fabric facing inside-out.
- Next, top-stitch the length of the fabric as closely as possible alongside the roller


3. Then, remove the curler and top-stitch one end of the fabric shut. 4. After that, trim excess fabric at the seams and turn inside out. 5. Next, push curler halfway through the fabric “tube”.
6. Then, fold 1/4″ of fabric on open end inward and sew shut.

7. After that, sew a top-stitch as close as possible to the curler at each end to secure it in place.
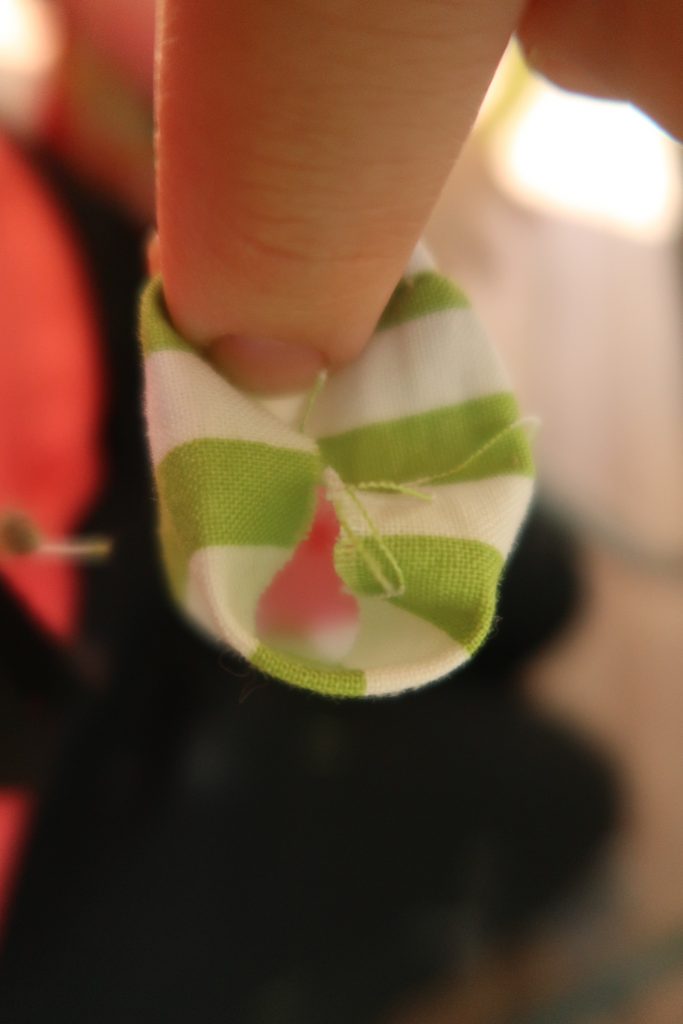
8. Then, fold each flap of fabric over the other and prepare to insert your snap. Make sure it’s fairly tight so that it will secure the hair well.

9. Finally, you will put two corresponding snap pieces on each flap of fabric. I will insert this tutorial by Dritz to give you an idea of how I inserted my snaps. Also, make sure that each snap is facing in opposite directions as pictured below.


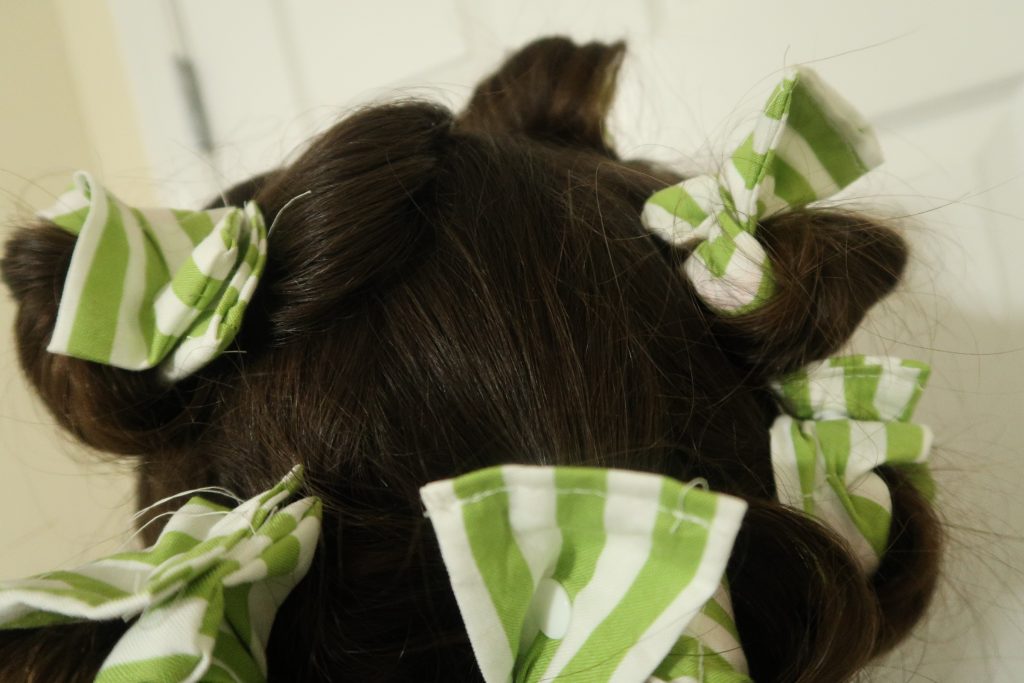
Curl hair before bed, wake up in the morning and VOILA-curls!

If you liked this post and would like to see more, please be sure to follow me on instagram and sign up for the D+J Newsletter to have access to exclusive content you won’t find anywhere else! You won’t want to miss out on all of the exciting projects I have coming up!
Keep Creating-
Natalie from Deerwood + Jones
Shop This Post!
Brother Sewing Machine, XM1010, 10 Built-in Stitches, 4 Included Sewing Feet
LIHAO Snaps and Snap Pliers Set, 375 Sets T5 Plastic Buttons for Sewing and Crafting
Riley Blake Designs “Swiss & Dots” Quilt Fabric, Aqua/White
Coats: Thread & Zippers Dual Duty XP General Purpose Thread, 250-Yard, Aqua Marine
SINGER Fabric Scissors with Comfort Grip, 1-pack, Red & White